🦆 管线重构、Input、Egui Tiles、Shadow Mapping
2024-12-25
渲染管线重构
| BindGroup | 说明 | 目前内容 |
| 0: Global | 全局资源,例如相机、平行光、Shadow map | [0] Camera Buffer [1] Global Light Uniform [2] Shadow Map Texture2D [3] Shadow Map Sampler |
| 1: Material | 材质的资源,例如贴图等 | [0] Texture 0 [1] Sampler 0 |
| 2: Object | 每个 MeshRenderer 的资源,例如 Transform | [0] Transform Buffer |
Target
用于快速书写 BindGroup 的宏
BindGroupLayout
#[macro_export]
macro_rules! bg_layout_descriptor {
    ([$name:literal] $($i:literal: $vis:expr => $c:expr;)*) => {
        wgpu::BindGroupLayoutDescriptor {
            label: Some($name),
            entries: &[
                $($c.into_bgl_entry($i, $vis),)*
            ]
        }
    };

    () => ()
}let material_bind_group_layout =
Arc::new(device.create_bind_group_layout(&bg_layout_descriptor!(
["Material Bind Group Layout"]
0: ShaderStages::FRAGMENT => BGLEntry::Tex2D(false, TextureSampleType::Float { filterable: true });
1: ShaderStages::FRAGMENT => BGLEntry::Sampler(SamplerBindingType::Filtering);
)));
BindGroup
#[macro_export]
macro_rules! bg_descriptor {
    ([$name:literal] [$layout:expr] $($i:literal: $c:expr;)*) => {
        wgpu::BindGroupDescriptor {
            label: Some($name),
            layout: $layout,
            entries: &[
                $(wgpu::BindGroupEntry{
                    binding: $i,
                    resource: $c,
                },)*
            ]
        }
    };
}let bind_group_layout =
Arc::new(device.create_bind_group_layout(&bg_layout_descriptor! (
["Global Bind Group Layout"]
0: ShaderStages::VERTEX => BGLEntry::UniformBuffer(); // Camera Uniform
1: ShaderStages::all() => BGLEntry::UniformBuffer(); // Global Light Uniform
2: ShaderStages::FRAGMENT => BGLEntry::Tex2D(false, TextureSampleType::Depth); // Shadow Map
3: ShaderStages::FRAGMENT => BGLEntry::Sampler(SamplerBindingType::Comparison); // Shadow Map
)));
简单的输入 Input
pub struct Input {
    pub down_keys: HashSet<KeyCode>,
    pub hold_keys: HashSet<KeyCode>,
    pub up_keys: HashSet<KeyCode>,
    pub last_cursor_position: Vec2,
    pub cursor_position: Vec2,
    pub cursor_offset: Vec2,
    pub down_cursor_buttons: HashSet<CursorButton>
}
    let mut move_vec = Vector3::new(0., 0., 0.);
    if input.is_key_hold(KeyCode::KeyW) {
        move_vec += Vector3::new(0.0, 0.0, -1.0);
    }
    ...
    if input.is_key_hold(KeyCode::Space) {
        if input.is_key_hold(KeyCode::ShiftLeft) {
            move_vec += Vector3::new(0.0, -1.0, 0.0);
        } else {
            move_vec += Vector3::new(0.0, 1.0, 1.0);
        }
    }
    let delta_time_sec = time.delta_time.as_secs_f32();
    if move_vec != Vector3::new(0., 0., 0.) {
        move_vec =
            cam_transform.rotation.rotate_vector(move_vec.normalize()) * speed * delta_time_sec;
        cam_transform.position += move_vec;
    }
| 更新时刻 | 更新内容 |
| WindowEvent | 插入 down_keys, up_keys,插入和删除 hold_keys |
| pre_update | 更新 cursor_offset, last_cursor_position |
| post_update | 清除 down_keys, up_keys |
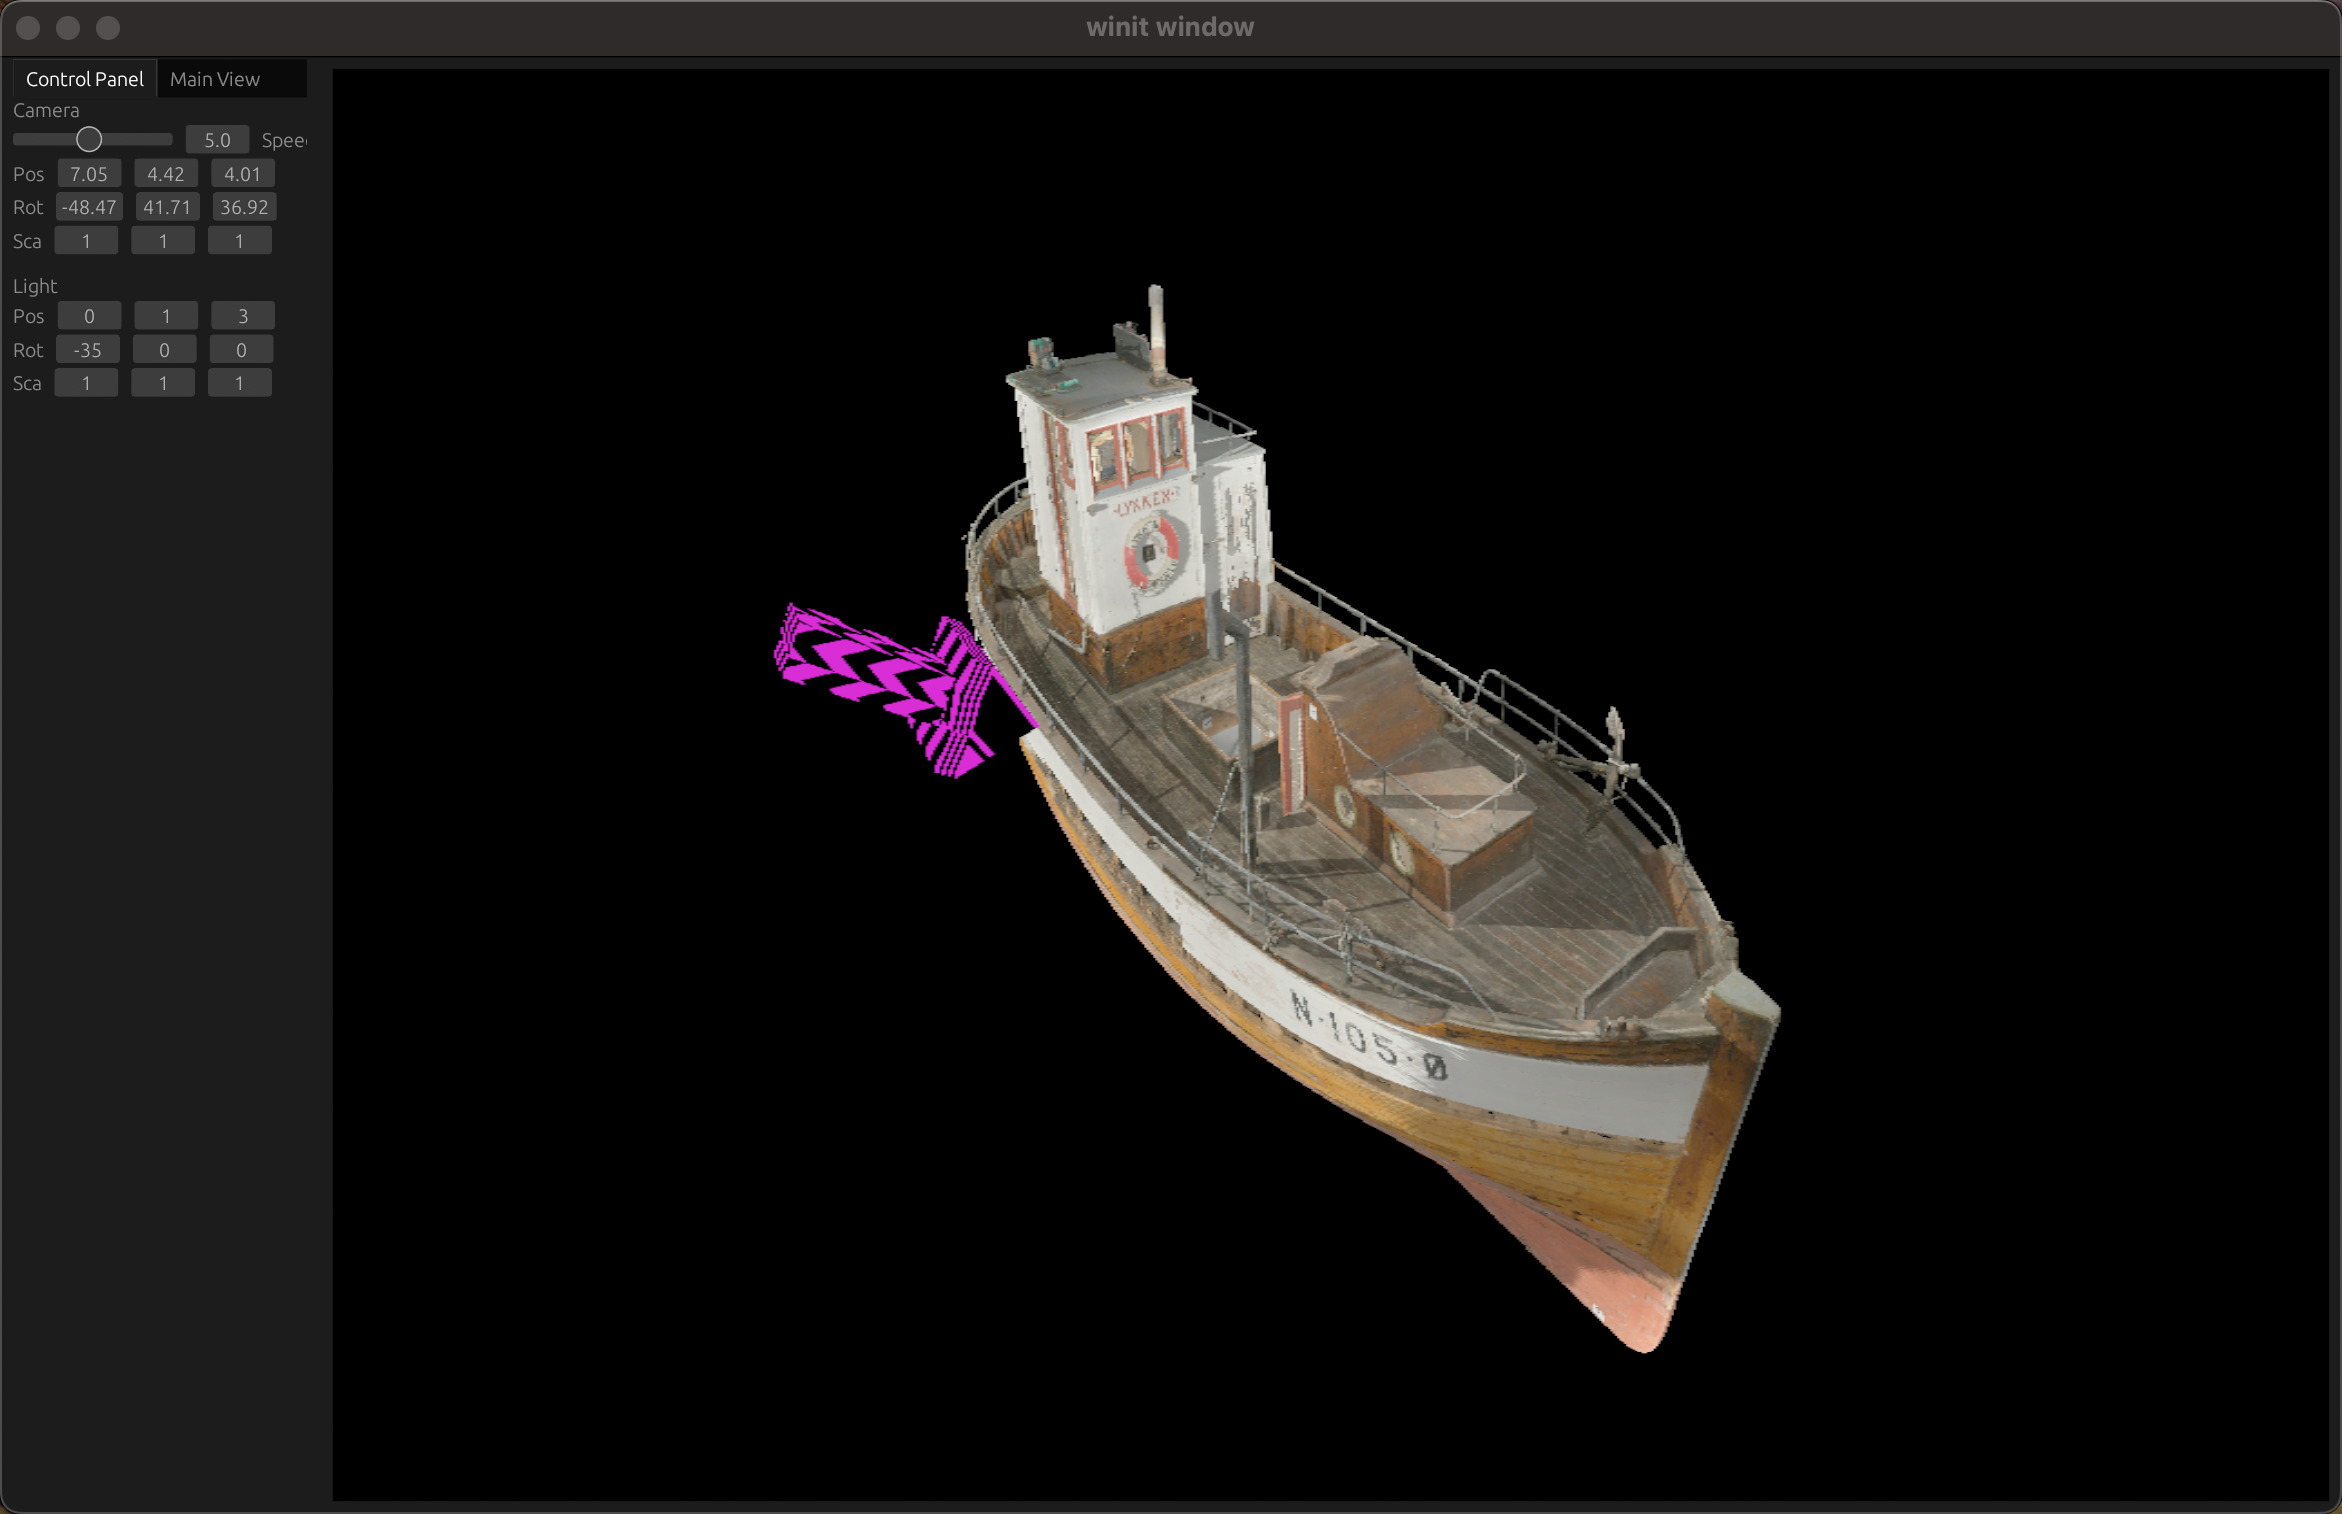
Egui Tiles
egui_tiles
pub enum MyPane {
    MainView,
    ControlPanel,
}
struct MyBehavior<'a> {
    world: &'a mut World, //这里的 World 是 bevy_ecs 中的 Wrold,我们实现 ui 的时候需要用它
}

impl<'a> egui_tiles::Behavior<MyPane> for MyBehavior<'a> {
    fn pane_ui(&mut self, ui: &mut egui::Ui, ..., pane: &mut MyPane) -> egui_tiles::UiResponse {
        match pane {
          ...
        };
        egui_tiles::UiResponse::None
    }

    fn tab_title_for_pane(&mut self, pane: &Pane) -> egui::WidgetText {
        match pane {
            Pane::MainView => "Main View".into(),
            Pane::ControlPanel => "Control Panel".into(),
        }
    }
}
fn create_tree() -> egui_tiles::Tree<MyPane> {
    let mut tiles = egui_tiles::Tiles::default();

    let mut left_tabs_id_vec = vec![];
    let control_pane = tiles.insert_pane(MyPane::ControlPanel);
    let main_view_pane = tiles.insert_pane(MyPane::MainView);
    left_tabs_id_vec.push(tiles.insert_vertical_tile(vec![control_pane]));
    left_tabs_id_vec.push(tiles.insert_vertical_tile(vec![main_view_pane]));

    let left_tabs = tiles.insert_tab_tile(left_tabs_id_vec);

    let root = tiles.insert_horizontal_tile(vec![left_tabs]);

    egui_tiles::Tree::new("main_tree", root, tiles)
}
...
let mut tree = create_tree();
let mut behavior = TreeBehavior { world };
tree.ui(&mut behavior, ui);
...
Shadow Mapping
关于计算机矩阵表达的 Column Major 和 Row Major 可以见这篇文章: http://davidlively.com/programming/graphics/opengl-matrices/row-major-vs-column-major/
...
out.light_space_clip_pos = light.view_proj * vec4<f32>(out.world_pos, 1.0);
...
...
var light_space_pos = in.light_space_clip_pos;
var proj_coords = light_space_pos.xyz / light_space_pos.w;

let flip_correction = vec2<f32>(0.5, -0.5);

var uv = proj_coords.xy * flip_correction + vec2<f32>(0.5); // reverse y and map [-1, 1] to [0, 1]
var shadow = textureSampleCompare(tex_shadow_map, samp_shadow_map, uv, proj_coords.z);
...
Still a lot of problem
-
Cascaded Shadow Mapping (CSM): CSM 将玩家能看到的视野范围分为多个部分,这些部分分别用单独的 Shadow Map 覆盖。旨在解决平行光 Shadow Mapping 的视角问题、利用率问题和精度问题。 https://learnopengl.com/Guest-Articles/2021/CSM -
多光源 Shadow Mapping: 用 texture array 实现就好了,每个光源对应一张 Shadow Map. Wgpu 的 examples 中的 shadow就是一个多光源实现,很好的参考。 -
多光源类型: 各种光源类型下的投影矩阵如何设置也是件需要花一些时间研究的事。 -
Percentage-Closer Soft Shadows (PCSS): 随距离变化的软阴影。 -
反走样: 目前我还没有太多了解,之后会查一些资料。实践后切身认识到 Shadow Mapping 的反走样重要性,目前的程序时常走样地可怕。
Next Station